RestAPI with Django
Installing Django and Django Rest Framework
Let's create the virtual enviroment, for this enter in the terminal:
path-to-the-project>python -m venv env
Activate the virtual enviroment and go back to the original directory
path-to-the-project>cd env/Scripts
path-to-the-project\env\Scripts>activate
(env) path-to-the-project\env\Scripts>cd../..
(env) path-to-the-project>
Install Django and create the project:
(env) path-to-the-project>pip install django
(env) path-to-the-project>pip install djangorestframework
(env) path-to-the-project>django-admin startproject beasttoolapi
Run the server:
(env) path-to-the-project>cd beasttool
(env) path-to-the-project\beasttool>python manage.py runserver
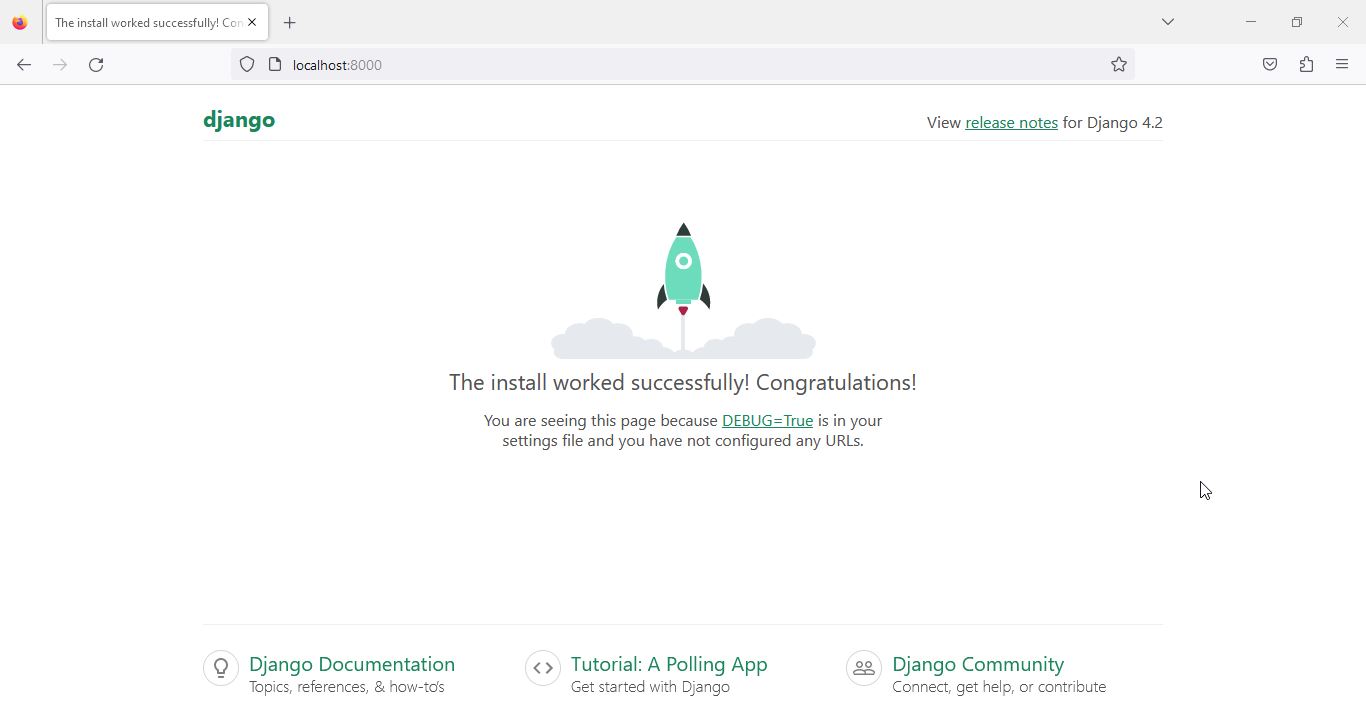
Now we know the project is running, the server is running at localhost:8000, you can open the web server and verify the Django's default page can be reached:
Create and register the application
Let's create an application called "inventory":
(env) path-to-the-project\beasttool>py manage.py startapp user
(env) path-to-the-project\beasttool>py manage.py startapp inventory
Now we must register the app and the Django Rest Framework in "beastool/settings.py":
# Application definition

INSTALLED_APPS = [
    'django.contrib.admin',
    'django.contrib.auth',
    'django.contrib.contenttypes',
    'django.contrib.sessions',
    'django.contrib.messages',
    'django.contrib.staticfiles',
    'inventory',
    'rest_framework',
]
Create a model for the app inventory
At "inventory/models.py":
from django.db import models

class Articles(models.Model):
    id = models.AutoField(primary_key=True)
    name = models.CharField(max_length=255)
    origin = models.CharField(max_length=255)
    quantity = models.IntegerField
Set the database
Create a database MariaDB called "beasttoolapi" and set the connection in "settings.py":
DATABASES = {
    'default': {
        'ENGINE': 'django.db.backends.mysql',
        'NAME': 'beasttoolapi',
        'USER': 'root',
        'PASSWORD': '',
        'HOST': 'localhost',
        'PORT': '3306',
    }
}
Install the mysql driver:
(env) path-to-the-project\beasttool>pip install mysqlclient
Now is time to execute the migrations:
(env) path-to-the-project\beasttool>py manage.py makemigrations
The console should answer something like:
Migrations for 'inventory':
    inventory\migrations\0001_initial.py
      - Create model Articles
Next, use the command "migrate":
(env) path-to-the-project\beasttool>py manage.py migrate
The console should answer something like:
Operations to perform:
  Apply all migrations: admin, auth, contenttypes, inventory, sessions
Running migrations:
  Applying contenttypes.0001_initial... OK
  .
  .
  .
  Applying inventory.0001_initial... OK
  Applying sessions.0001_initial... OK
Create serializers and ViewSets
Create in the app a file called "serializers.py", this class will permit the rest_framework convert data into JSON.
from rest_framework import serializers
from .models import Article

class ArticleSerializer(serializers.ModelSerializer):
    class Meta:
        model = Article
        fields = ('id','name','origin','quantity')
        read_only_fields = ('id',)
Create an file "api.py" in the app:
from .models import Article
from rest_framework import viewsets, permissions
from serializers import ArticleSerializer

class ArticleViewSet(viewsets.ModelViewSet):
    queryset = Article.objects.all()
    permission_classes = [permissions.AllowAny]
    serializer_class = ArticleSerializer
Create URLs
Create the file "urls.py" in the app:
from rest_framework import routers
from .api import ArticleViewSet

router = routers.DefaultRouter()
router.register('api/articles',ArticleViewSet,'articles')

urlpatterns = router.urls
Register the urls project's urls:
from django.contrib import admin
from django.urls import path, include

urlpatterns = [
    path('',include('inventory.urls')),
    path('admin/', admin.site.urls),
]
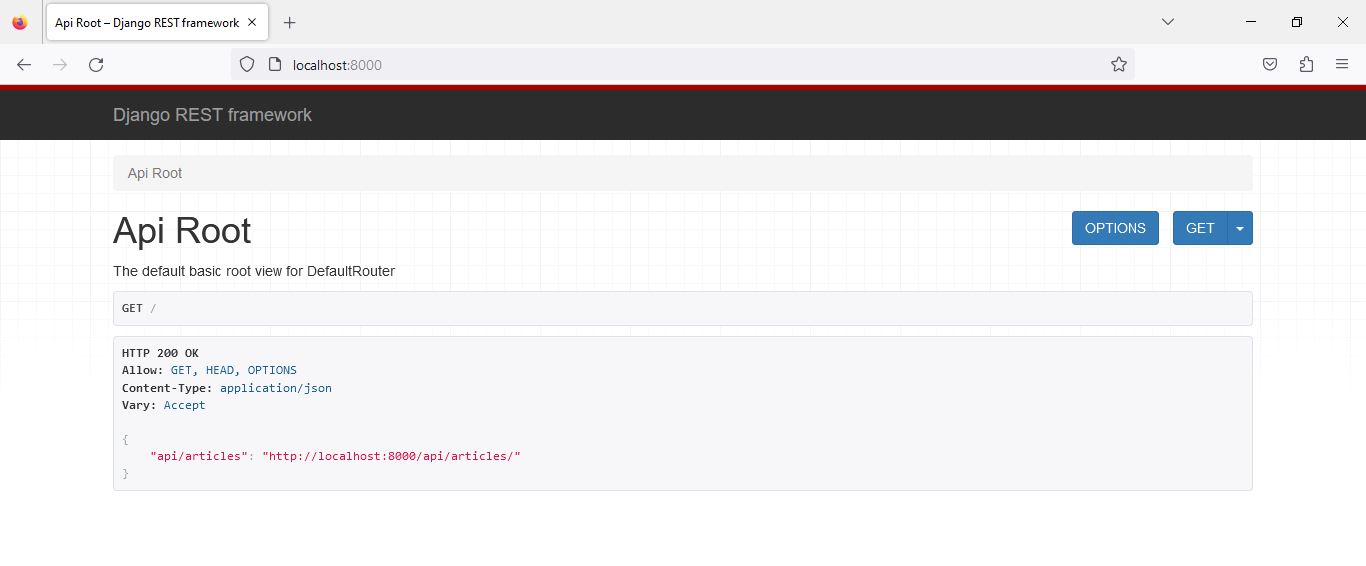
Now we can run the server and get something like this:
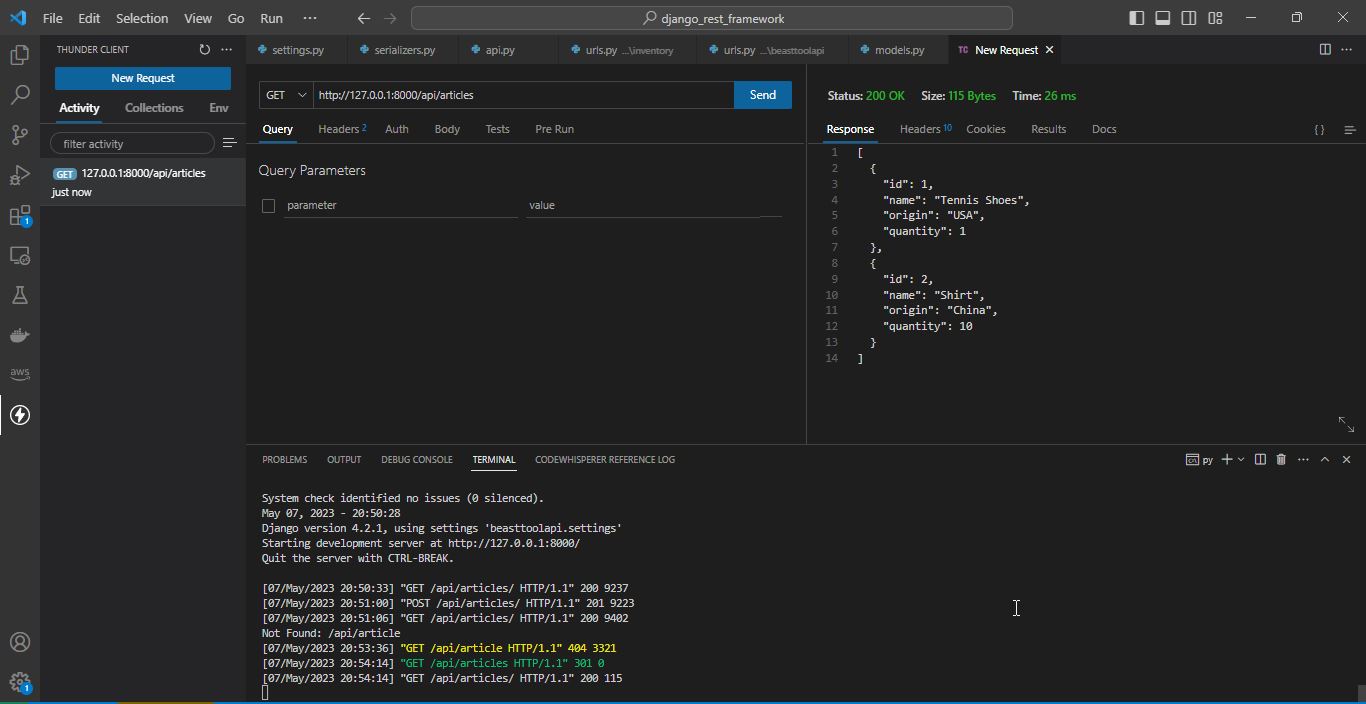
At this moment we can use a HTTP client to consume the endpoint "localhost:8000/api/articles", the following image shows Thunder, which is a client that works in VSCode:
Thanks for reading :)
I invite you to continue reading other entries and visiting us again soon.