Installation Django

Create a Virtual Environment
The following instruction can change depending on what OS and terminal are used, in my case, I'm working with Windows 10 and CMD.
Open a terminal in the directory where you want to save the project and enter:
path-to-the-project>python -m venv envIn the last entry, 'env' is the directory that will be created to host the Virtual Environment
Now you need to activate it, you move to 'env/Scripts/' directory using the terminal:
path-to-the-project>cd env/ScriptsFinally, introduce the command 'activate' and the word '(env)' will appear at the beginning of the terminal line:
path-to-the-project\env\Scripts>activate
(env) path-to-the-project\env\Scripts>
At this point, our Virtual environment is created and active.
To deactivate it, use the command 'deactivate' and the word '(env)' at the beginning of the command line will disappear:
(env) path-to-the-project\env\Scripts>deactivate
path-to-the-project\env\Scripts>
Finally, it is important to go back to the original folder, then you work over this folder and not in the environment folder:
(env) path-to-the-project\env\Scripts>cd..\..
(env) path-to-the-project>
Install Django
(env) path-to-the-project>pip install djangoVerify the version installed
(env) path-to-the-project>python -m django --versionCreate a project
After installing Django, for creating the project, insert in the terminal:
(env) path-to-the-project>django-admin startproject my_projectA new folder "my_project" will be created. Into this folder is a file called "manage.py" which is the main file in the project, and there is another "my_project" folder where are "urls.py", "settings.py" and "wsgi.py". From now, the Project's root directory will be the the outer "my_project" folder.
Run the server
For running the server and execute the Django application, move to the project's root directory and insert in the terminal:
(env) path-to-the-project>\my_project>python manage.py runserverThe terminal will answer:
Watching for file changes with StatReloader
Performing system checks...
System check identified no issues (0 silenced).
You have 18 unapplied migration(s). Your project may not work properly until you apply the migrations for app(s): admin, auth, contenttypes, sessions.
Run 'python manage.py migrate' to apply them.
February 17, 2023 - 12:51:31
Django version 4.1.7, using settings 'my_project.settings'
Starting development server at http://127.0.0.1:8000/
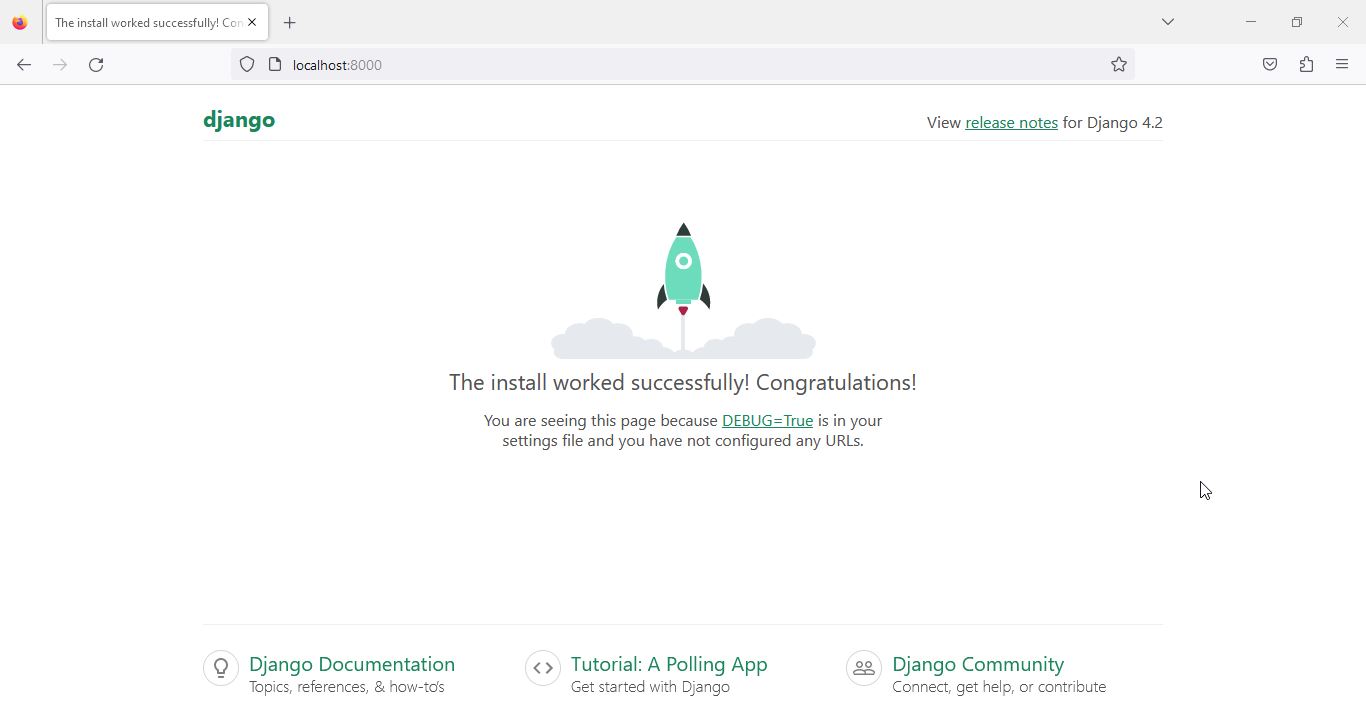
Quit the server with CTRL-BREAK.Them the server is running at localhost:8000, you can open the web server and verify the Django's default page can be reached.
For changing the ip and port where the server will be accessible, change the entry for:
(env) path-to-the-project>py manage.py runserver 127.0.0.5:80Please, notice the showed ip address and port were examples, you can set the values according to your convenience, but finally, if you change the ip address, it is necessary declaring that host in the ALLOWED_HOSTS list in my_project/settings.py:
ALLOWED_HOSTS = ['127.0.0.5']Create an app
A project is a collection of configuration and apps for a particular website. A project can contain multiple apps. An app can be in multiple projects. For creating an app, locate at project's root directory and enter in the terminal:
(env) path-to-the-project/my_project>py manage.py startapp my_appThen, you are creating an app "my_app" which is part of the project "my_project", and later you could create other apps intended to any function the project needs.
Now at the project's root directory you have a new folder called "my_app" and inside there are the files settings for the my_app app.
It is important to register the app in the project, you must do this in settings.py:
# Application definition

    INSTALLED_APPS = [
        'my_app',
        ...
For checking the app was properly registered in the Django project:
(env) path-to-the-project>python manage.py check my_app
The console should answer something like:
System check identified no issues (0 silenced).
Hello World!
In the folder "my_app" there is a file "views.py" where you can register the functions to execute when a url of the app is visited:
from django.http import HttpResponse

def index(request):
    return HttpResponse('Hello world my_app!')
Then, create a file "my_app/urls.py" and register the new url in the list urlpatterns:
from django.urls import path

from . import views

urlpatterns = [
    path('', views.index, name='index'),
]from django.contrib import admin
from django.urls import path, include
urlpatterns = [
path('my_app/', include('my_app.urls')),
path('admin/', admin.site.urls),
]All urls "my_app/" will be mapped from the "my_app/urls.py".
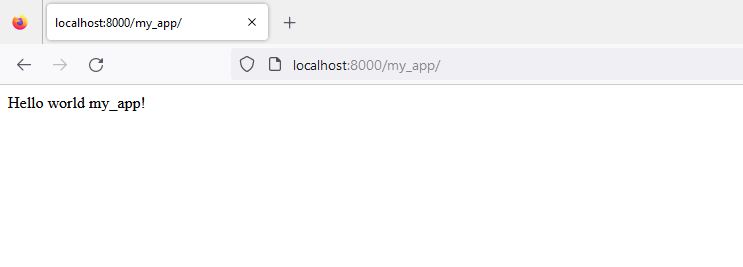
Now, you can run the server and go to the browser and check the url 'localhost:8000/my_app'
(env) path-to-the-project>\my_project>py manage.py runserver
You should get a 'Hello World my_app!'
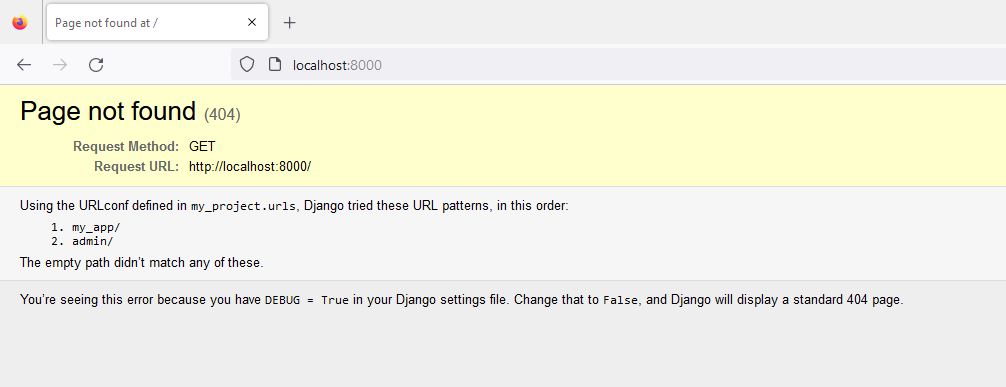
But if you visit 'localhost:8000' you will get an error because we have not registered that url in the project.
Let's create a Hello world! view for the project:
Create a file "my_project/views.py":
from django.http import HttpResponse

def index(request):
    return HttpResponse('Hello world!')
Register the url in "my_project/urls.py":
from django.contrib import admin
from django.urls import path, include
from . import views

urlpatterns = [
    path('',views.index,name='index'),
    path('my_app/', include('my_app.urls')),
    path('admin/', admin.site.urls),
]
Now you can visit "localhost:8000" and get a 'Hello world!'

and visit "localhost:8000/my_app" and get a 'Hello world my_app!'

Thanks for reading :)
I invite you to continue reading other entries and visiting us again soon.